Django通过channels实现websocket
承蒙大家厚爱,我的《Go语言之路》的纸质版图书已经上架京东,有需要的朋友请点击 此链接 购买。
在Django框架中是通过channels来实现websocket的,本文带你使用Django+channels搭建一个简单的websocket实例。
Django通过channels实现websocket
准备阶段
安装channels
pip install -U channels
如果出现下列错误:
error: Microsoft Visual C++ 14.0 is required. Get it with “Microsoft Visual C++ Build Tools”: http://landinghub.visualstudio.com/visual-cpp-build-tools
类似这种图:
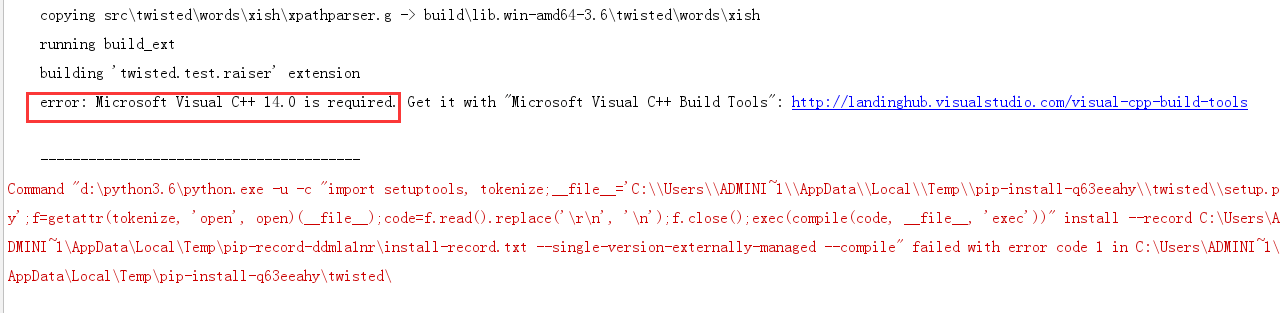
按照这个网址的解决办法:Microsoft Visual C++ 14.0 is required解决办法
安装channels_redis
pip install channels_redis
创建一个Django项目和一个app
项目名随意,app名随意。这里项目名为django_websocket_demo,app名chat
把app文件夹下除了views.py和__init__.py的文件都删了,最终项目目录结构如下:
django_websocket_demo/
    manage.py
    django_websocket_demo/
        __init__.py
        settings.py
        urls.py
        wsgi.py
    chat/
        __init__.py
        views.py
在app下新建一个templates文件夹用来存放HTML页面:
chat/
    __init__.py
    templates/
        chat/
            index.html
    views.py
index.html内容如下:
<!-- chat/templates/chat/index.html -->
<!DOCTYPE html>
<html>
<head>
    <meta charset="utf-8"/>
    <title>Chat Rooms</title>
</head>
<body>
    What chat room would you like to enter?<br/>
    <input id="room-name-input" type="text" size="100"/><br/>
    <input id="room-name-submit" type="button" value="Enter"/>

    <script>
        document.querySelector('#room-name-input').focus();
        document.querySelector('#room-name-input').onkeyup = function(e) {
            if (e.keyCode === 13) {  // enter, return
                document.querySelector('#room-name-submit').click();
            }
        };

        document.querySelector('#room-name-submit').onclick = function(e) {
            var roomName = document.querySelector('#room-name-input').value;
            window.location.pathname = '/chat/' + roomName + '/';
        };
    </script>
</body>
</html>
在chat/views.py中添加视图函数:
# chat/views.py
from django.shortcuts import render

def index(request):
    return render(request, 'chat/index.html', {})
添加 chat/urls.py文件并设置路由信息:
# chat/urls.py
from django.urls import re_path

from . import views

urlpatterns = [
    re_path(r'^$', views.index, name='index'),
]
在项目路由django_websocket_demo/urls.py中配置路由信息:
# django_websocket_demo/urls.py
from django.conf.urls import include, url
from django.contrib import admin

urlpatterns = [
    url(r'^chat/', include('chat.urls')),
    url(r'^admin/', admin.site.urls),
]
在settings.py文件同级目录下新建routing.py文件,内容如下:
# django_websocket_demo/routing.py
from channels.routing import ProtocolTypeRouter

application = ProtocolTypeRouter({
    # (http->django views is added by default)
})
把channels注册
INSTALLED_APPS = [
    'channels',
    'chat',
    'django.contrib.admin',
    'django.contrib.auth',
    'django.contrib.contenttypes',
    'django.contrib.sessions',
    'django.contrib.messages',
    'django.contrib.staticfiles',
]
在 settings.py文件中,添加如下配置项:
# django_websocket_demo/settings.py
# Channels
# Channels
ASGI_APPLICATION = 'django_websocket_demo.routing.application'
启动Django项目。
如果启动DJango项目报错如下:
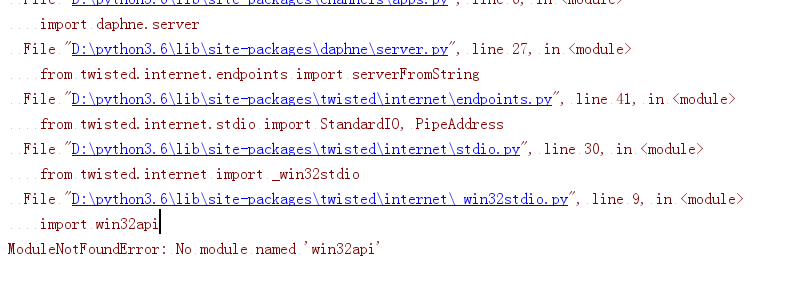
点击链接下载 pywin32
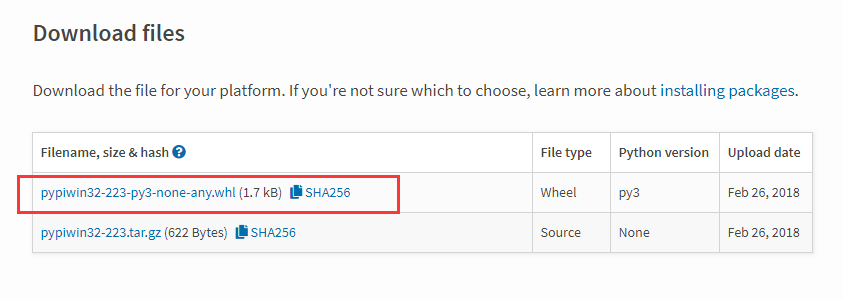
把下载好的文件放在项目目录下,运行下面的命令安装:
pip install pypiwin32-223-py3-none-any.whl
更进一步
创建一个chat/templates/chat/room.html文件,添加如下内容:
<!-- chat/templates/chat/room.html -->
<!DOCTYPE html>
<html>
<head>
    <meta charset="utf-8"/>
    <title>Chat Room</title>
</head>
<body>
    <textarea id="chat-log" cols="100" rows="20"></textarea><br/>
    <input id="chat-message-input" type="text" size="100"/><br/>
    <input id="chat-message-submit" type="button" value="Send"/>
</body>
<script>
    var roomName = {{ room_name_json }};

    var chatSocket = new WebSocket(
        'ws://' + window.location.host +
        '/ws/chat/' + roomName + '/');

    chatSocket.onmessage = function(e) {
        var data = JSON.parse(e.data);
        var message = data['message'];
        document.querySelector('#chat-log').value += (message + '\n');
    };

    chatSocket.onclose = function(e) {
        console.error('Chat socket closed unexpectedly');
    };

    document.querySelector('#chat-message-input').focus();
    document.querySelector('#chat-message-input').onkeyup = function(e) {
        if (e.keyCode === 13) {  // enter, return
            document.querySelector('#chat-message-submit').click();
        }
    };

    document.querySelector('#chat-message-submit').onclick = function(e) {
        var messageInputDom = document.querySelector('#chat-message-input');
        var message = messageInputDom.value;
        chatSocket.send(JSON.stringify({
            'message': message
        }));

        messageInputDom.value = '';
    };
</script>
</html>
在chat/views.py中添加一个处理 room的视图函数:
# chat/views.py
from django.shortcuts import render
from django.utils.safestring import mark_safe
import json

def index(request):
    return render(request, 'chat/index.html', {})

def room(request, room_name):
    return render(request, 'chat/room.html', {
        'room_name_json': mark_safe(json.dumps(room_name))
    })
在chat/urls.py中注册路由
# chat/urls.py
from django.urls import re_path

from . import views

urlpatterns = [
    re_path(r'^$', views.index, name='index'),
    re_path(r'^(?P<room_name>[^/]+)/$', views.room, name='room'),
]
新建chat/consumers.py文件,添加如下内容:
# chat/consumers.py
from channels.generic.websocket import AsyncWebsocketConsumer
import json

class ChatConsumer(AsyncWebsocketConsumer):
    async def connect(self):
        self.room_name = self.scope['url_route']['kwargs']['room_name']
        self.room_group_name = 'chat_%s' % self.room_name

        # Join room group
        await self.channel_layer.group_add(
            self.room_group_name,
            self.channel_name
        )

        await self.accept()

    async def disconnect(self, close_code):
        # Leave room group
        await self.channel_layer.group_discard(
            self.room_group_name,
            self.channel_name
        )

    # Receive message from WebSocket
    async def receive(self, text_data):
        text_data_json = json.loads(text_data)
        message = text_data_json['message']

        # Send message to room group
        await self.channel_layer.group_send(
            self.room_group_name,
            {
                'type': 'chat_message',
                'message': message
            }
        )

    # Receive message from room group
    async def chat_message(self, event):
        message = event['message']

        # Send message to WebSocket
        await self.send(text_data=json.dumps({
            'message': message
        }))
新建一个chat/routing.py文件,添加以下内容:
# chat/routing.py
from django.urls import re_path

from . import consumers

websocket_urlpatterns = [
    re_path(r'^ws/chat/(?P<room_name>[^/]+)/$', consumers.ChatConsumer),
]
将django_websocket_demo/routing.py文件中修改为以下内容:
# django_websocket_demo/routing.py
from channels.auth import AuthMiddlewareStack
from channels.routing import ProtocolTypeRouter, URLRouter
import chat.routing

application = ProtocolTypeRouter({
    # (http->django views is added by default)
    'websocket': AuthMiddlewareStack(
        URLRouter(
            chat.routing.websocket_urlpatterns
        )
    ),
})
启动redis
在本地6379端口启动redis :redis-server
在settings.py中添加如下配置:
CHANNEL_LAYERS = {
    'default': {
        'BACKEND': 'channels_redis.core.RedisChannelLayer',
        'CONFIG': {
            "hosts": [('127.0.0.1', 6379)],
        },
    },
}
启动Django项目
使用多个浏览器打开http://127.0.0.1:8000/chat/lobby/,开始实时聊天吧。